 CareCard
Checking Student Submissions
How to follow one student's requirement progress and read their submitted documents — and who decides whether a document is accepted.
You can open any student in your program and see every document they submit and exactly where each one stands. You cannot decide the outcome.
Who Decides on a Document
Only CareCard's reviewers approve, reject, or hold a submitted document — nobody on the institution side can. You won't see a Verification page, and neither will Institution Admins or Campus Admins.
So the submissions panel is read-only for you: no Approve or Reject buttons.
Approve and Reject aren't hidden — they're not part of the coordinator role. If a submission sits too long without a decision, raise it with CareCard support.
Opening a Student's Submissions
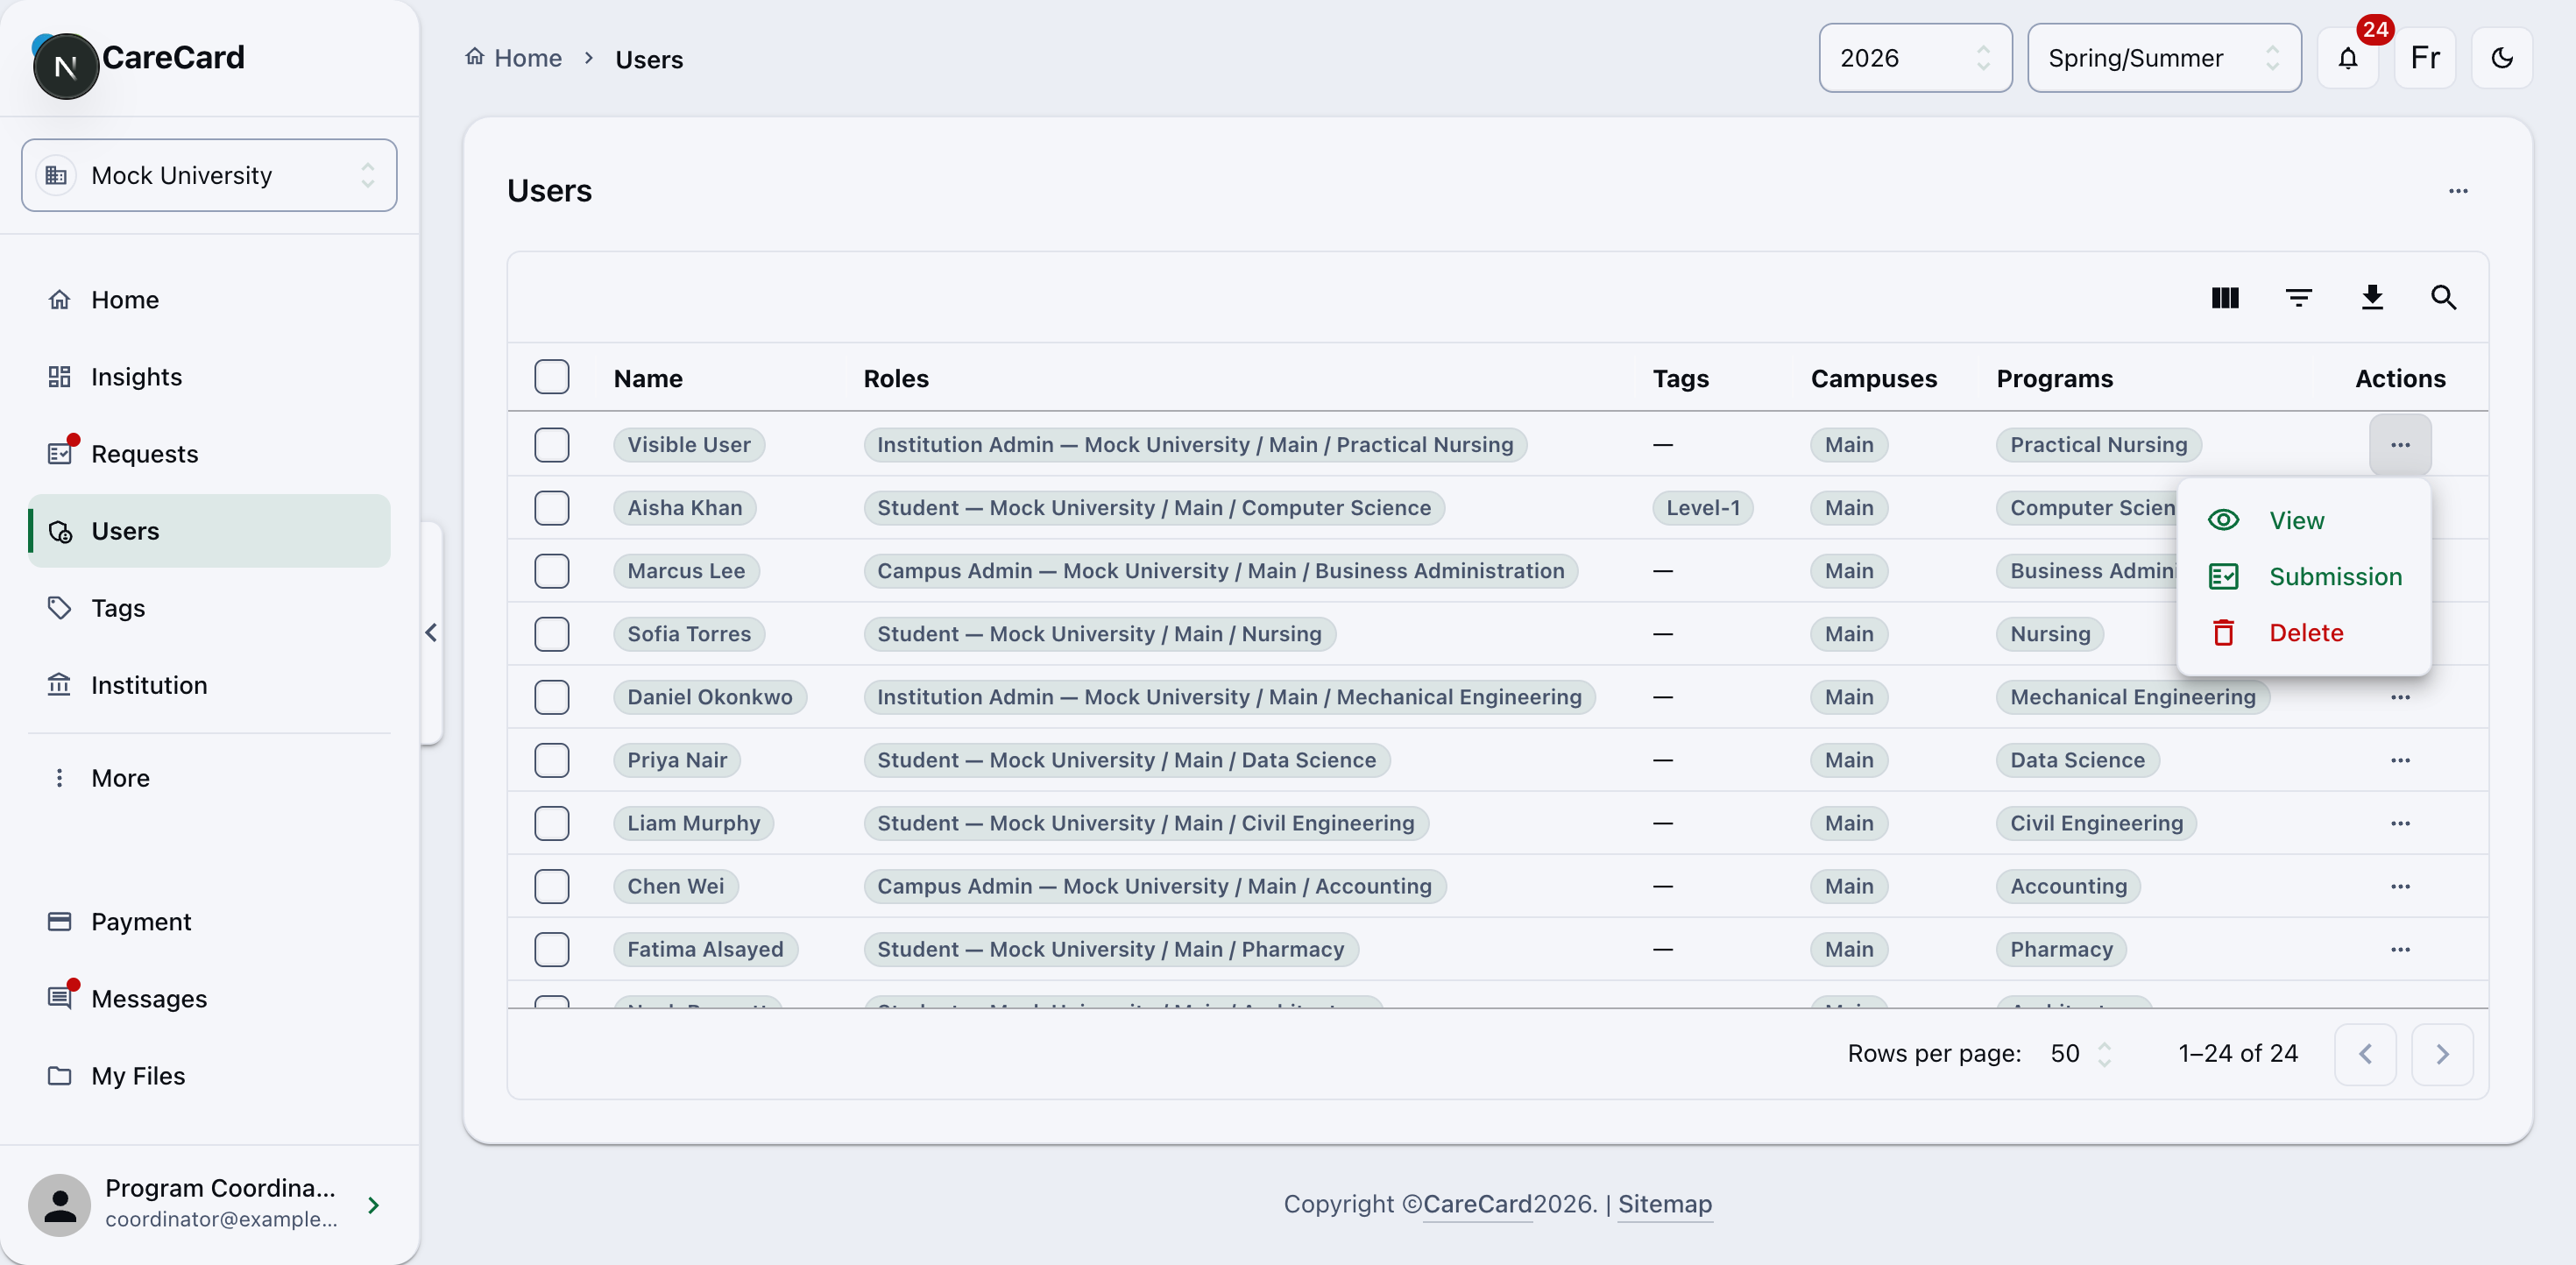
Go to Users, find the student, and open the ⋯ menu at the end of their row. It offers View, Submission, and Delete. Choose Submission.
That opens their submissions in a read-only panel titled with the student's name:
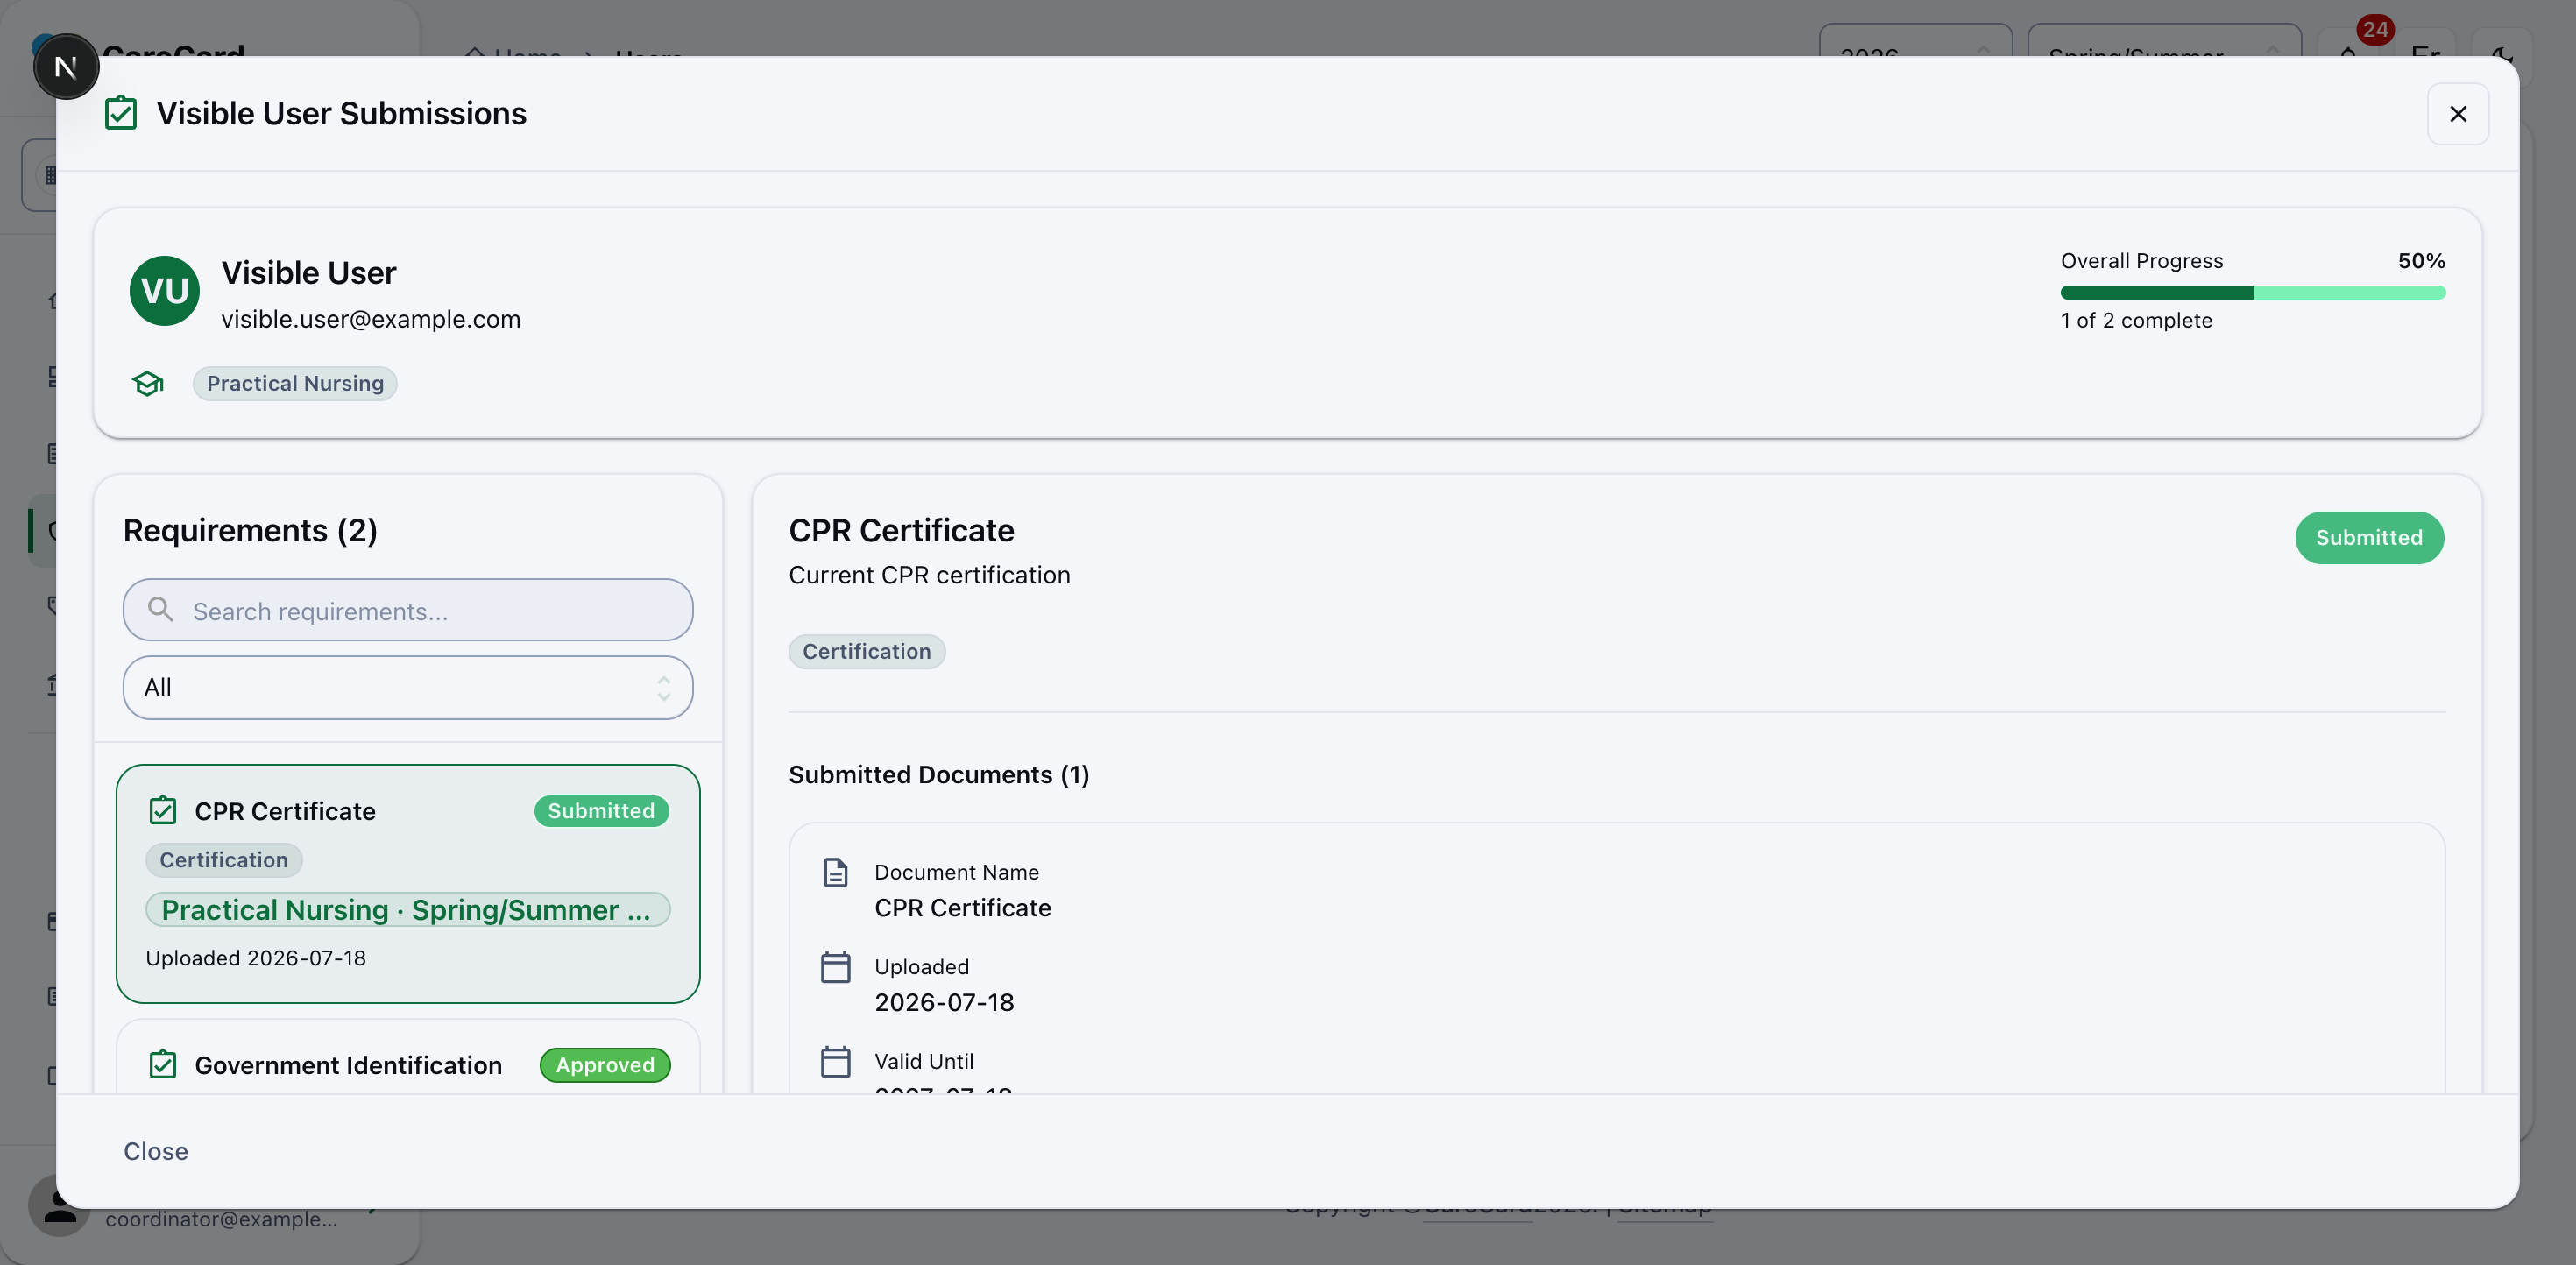
The panel shows the student's Overall Progress and their list of requirements, each with a status. You can search and filter the list. Pick a requirement to see its documents, files, and any Reviewer Feedback from a CareCard reviewer. The panel is read-only — the only button is Close.
What the Statuses Mean
The panel uses the same status chips a reviewer sees. A requirement counts as complete only when it is Approved or Conditional.
| Status | Meaning |
|---|---|
| Not Submitted | The student has attached files but has not submitted them yet |
| Submitted | Waiting on a CareCard reviewer |
| Processing | A review is under way |
| Approved | The evidence was accepted; counts as complete |
| Conditional | Accepted with a condition; also counts as complete |
| Information Required | The reviewer needs more from the student before deciding |
| Rejected | The evidence was not accepted; the reviewer comment says what to fix |
| On Hold | The review is paused; check the reviewer comment for the next step |
| Cancelled | The submission was cancelled |
Helping a Student Along
When a student is stuck, you can:
- Use Messages to tell them what is missing or what to resubmit.
- Check their Requests entry — a student only sees a program's requirements once they've requested access to it.
- Point them to Uploading Requirement Documents for how to attach and submit a document.